✴️ What are Agents
By blending the smarts of advanced language models with the warmth of face-to-face communication, D-ID Agents redefine digital connections, making them more personal, engaging, and human. All you have to do is select your Agent’s appearance, choose its voice, describe how you want it to interact, and provide it with documents to augment and personalize its knowledge base. You’ll have a digital person you can speak with in minutes, just like a real human.
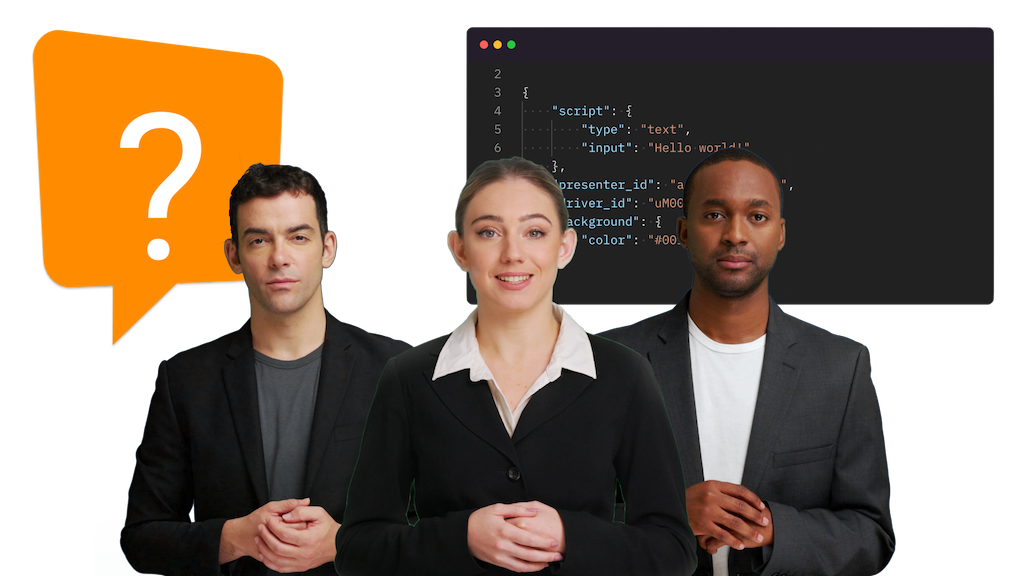
✴️ See a Working Example
Converse with real AI Agents
 Live Agent embedded on D-ID's websiteMake a live conversation with a real AI Agent on D-ID's website, ask related questions, and be inspired by its relevant knowledge, quality, latency, and the potential it could benefit your users in your platform. Check it out now!
✴️ Ready to Start
Using only 4 steps
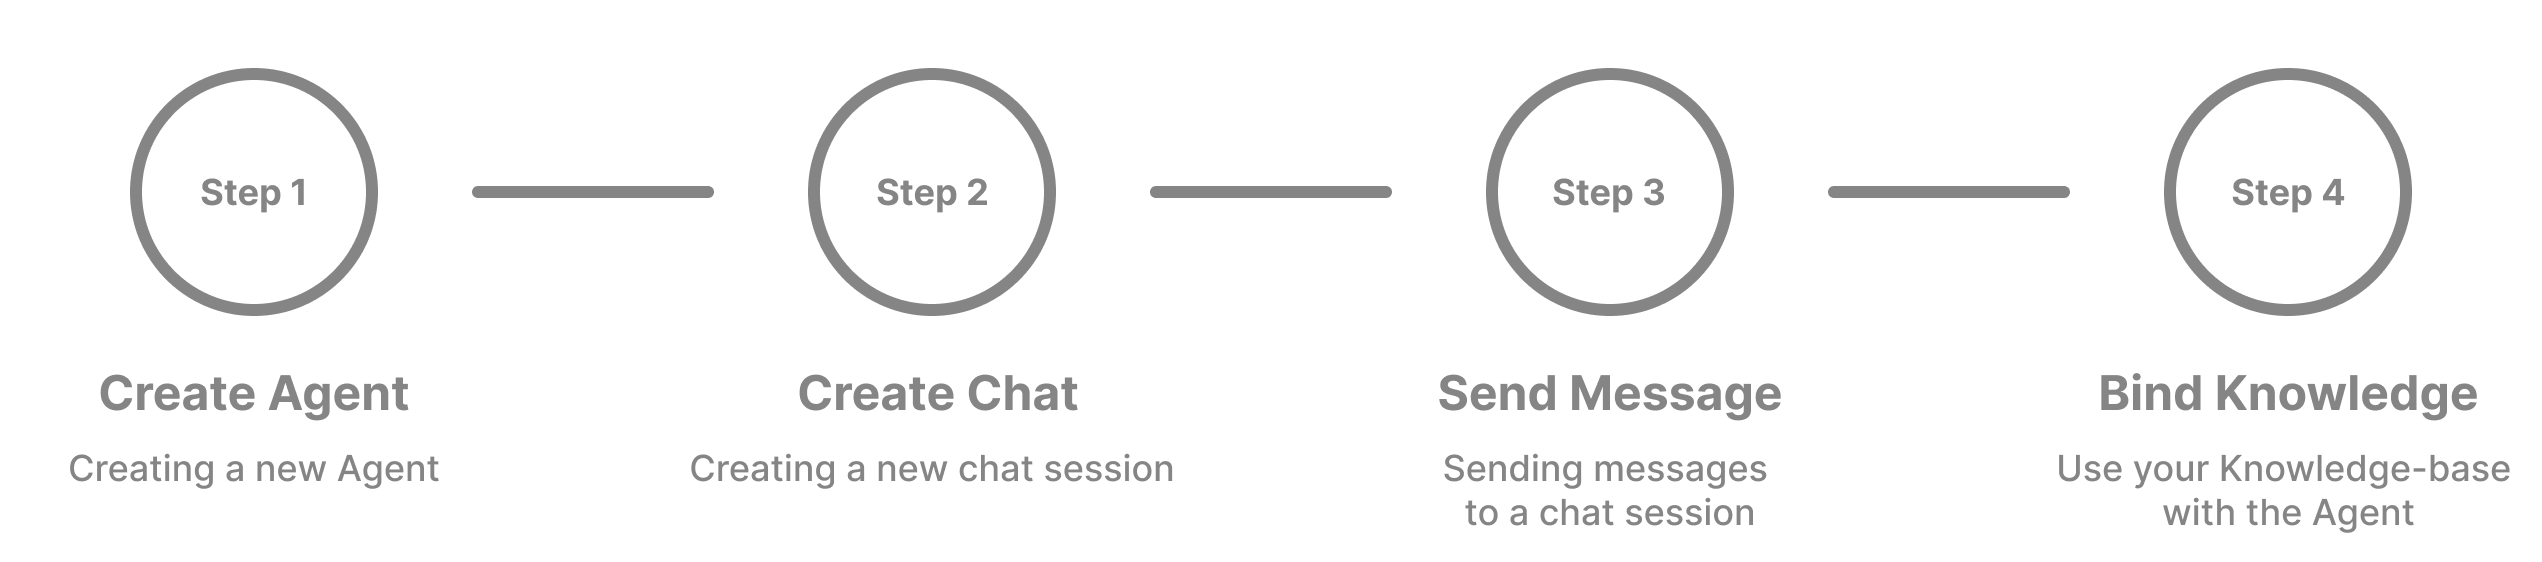
✴️ Step 1: Create an Agent
To create a new Agent, make a POST request to Create an Agent endpoint. In this endpoint, you will define the Agent's name, voice, type, and instructions. instructions = the LLM's "how-to-behave" system prompt. The presentertype can be one of the following:
* Available on select plans only that include premium presenters. Code example:
POST https://api.d-id.com/agents | Create an Agent
{
  "presenter": {
    "type": "talk",
    "voice": {
      "type": "microsoft",
      "voice_id": "en-US-JennyMultilingualV2Neural"
    },
    "thumbnail": "https://create-images-results.d-id.com/DefaultPresenters/Zivva_f/thumbnail.jpeg",
    "source_url": "https://create-images-results.d-id.com/DefaultPresenters/Zivva_f/thumbnail.jpeg"
  },
  "llm": {
    "type": "openai",
    "provider": "openai",
    "model": "gpt-3.5-turbo",
    "instructions": "You are Scarlett, an AI designed to assist with information about Louvre"
  },
  "preview_name": "Scarlett"
}
{
  "created": "2024-02-22T11:26:35.600Z",
  "preview_name": "Scarlett",
  "created_by": "google-oauth2|1004592475295613957286",
  "status": "created",
  "access": "unlisted",
  "llm": {
    "instructions": "You are Scarlett, an AI designed to assist with information about Louvre in Paris.",
    "model": "gpt-3.5-turbo",
    "type": "openai",
    "provider": "openai"
  },
  "modified": "2024-02-22T11:26:35.600Z",
  "presenter": {
    "voice": {
      "type": "microsoft",
      "voice_id": "en-US-JennyMultilingualV2Neural"
    },
    "thumbnail": "https://create-images-results.d-id.com/DefaultPresenters/Zivva_f/thumbnail.jpeg",
    "type": "talk",
    "source_url": "https://create-images-results.d-id.com/DefaultPresenters/Zivva_f/thumbnail.jpeg"
  },
  "id": "agt_j46fhSab",
  "owner_id": "google-oauth2|1004592475295613957286"
}
{
   "presenter": {
     "type": "clip",
     "voice": {
       "type": "microsoft",
       "voice_id": "en-US-JennyMultilingualV2Neural"
     },
   "presenter_id": "amy-FLZ1USJl7m",
   "thumbnail": "https://clips-presenters.d-id.com/amy/Aq6OmGZnMt/Vcq0R4a8F0/image.png"
   },
   "llm": {
     "type": "openai",
     "provider": "openai",
     "model": "gpt-3.5-turbo",
     "instructions": "You are Amy, an AI designed to assist with information about D-ID Agents."
   },
   "preview_name": "Amy"
 }
{
  "created": "2024-02-29T14: 33: 45.910Z",
  "preview_name": "Amy",
  "created_by": "google-oauth2|1004592475295613957286",
  "status": "created",
  "access": "unlisted",
  "llm": {
    "instructions": "You are Amy, an AI designed to assist with information about D-ID Agents.",
    "model": "gpt-3.5-turbo",
    "type": "openai",
    "provider": "openai"
  },
  "modified": "2024-02-29T14: 33: 45.910Z",
  "presenter": {
    "voice": {
      "type": "microsoft",
      "voice_id": "en-US-JennyMultilingualV2Neural"
    },
    "presenter_id": "amy-FLZ1USJl7m",
    "thumbnail": "https: //clips-presenters.d-id.com/amy/Aq6OmGZnMt/Vcq0R4a8F0/image.png",
    "type": "clip"
  },
  "id": "agt_Dbv7WvxB",
  "owner_id": "google-oauth2|1004592475295613957286"
}
Once an Agent is created, it appears in your Studio account. You can also utilize the Get Agents endpoint (to get a list of all your Agents), or Get an Agent (to see only a specific one, by agent id)
✴️ Step 2: Create a new Chat session with the Agent
Once the Agent is created, you can start chatting with it! To do that, you need to create a new Chat session and later send the communication messages to it.
Chat session is a separate thread of conversation between a user and an agent, with its own separate history of messages. The agent uses the history of the chat session to understand the semantic context of that session.
To start a new chat session with an agent, make a POST request to Create a Chat endpoint. The request body should be empty. The response will contain a unique id for the created Chat - referred to as chatId in other requests. Code example:
POST https://api.d-id.com/agents/{agentId}/chat | Create a Chat
{
    "agent_id": "agt_j46fhSab",
    "created": "2024-02-22T11:53:37.108Z",
    "messages": [],
    "agent_id__created_at": "AGENT#agt_j46fhSab#CREATED#2024-02-22T11:53:37.108Z",
    "agent_id__modified_at": "AGENT#agt_j46fhSab#MODIFIED#2024-02-22T11:53:37.108Z",
    "modified": "2024-02-22T11:53:37.108Z",
    "owner_id": "google-oauth2|1004592475295613957286",
    "id": "cht_Riz2LBuKnkDCuRrytxDoC"
}
Now, when both the Agent and its Chat session are created, you can start sending messages to this agent.
✴️ Step 3: Send a Message to a Chat session
End users can communicate with agents via text messages, or via voice messages using various Speech-to-Text technologies (voice messages are transcribed on the user’s local browser, thus all messages sent to the chat session are just text messages). Create and Initiate a WebRTC stream connection, following the 3 steps in the Talks Streams API documentation. (If a Premium Presenter was selected - use the Clips Streams API endpoints).
- Create a new WebRTC Stream (For
source_url, use the same Agent's image URL) - Start a WebRTC stream
- Submit network information
- Send messages:
POST https://api.d-id.com/agents/{agentId}/chat/{chatId} | Send a message to a Chat
{
    "streamId": "strm_9qZx1olSnZI2TTs6__kEad",
    "sessionId": "AWSALB=9W5BzCm0wMBPQZoz3/gXxHgrsVjj5m9Jwgp/SLIF5TKXH2Bd0Xq5c1hN2OfwcC5zZQ52jiWKF7fLsg56t70hONqNzQ91Ly6m275lFvB7kg9byQyMwzaYvewlfiA4; Expires=Sun, 10 Mar 2024 18:15:00 GMT; Path=/; AWSALBCORS=9W5BzCm0wMasdZoz3/gXxHgrsVjj5m9Jwgp/SLIF5TKXH2Bd0Xq5c1hN2OfwcC5zZQ52jiWKF7fLsg56t70hONqNzT91Ly6m275lFvB7kg9byQyMwzaYvewlfiA2; Expires=Sun, 10 Mar 2024 18:30:25 GMT; Path=/; SameSite=None; Secure",
    "messages": [
        {
            "role": "user",
            "content": "Who was the first visitor of the Louvre?",
            "created_at": "03/03/2024, 18:15:00"
        }
    ]
}
Video will be streamed via the WebRTC connection
Note
agentIdandchatIdare taken from Agent creation process in this page.
streamIdandsessionIdare taken from the streams API examples page.
✴️ Step 4: Bind Agent with Knowledge Base
This is the time to power up your Agent with your own knowledge base (RAG)! Follow the Knowledge Overview page to create a new knowledge base and bind it to your Agent. After creating a knowledge base with documents in it, and once the knowledge base status is done, use your knowledgeId and include it in the following PATCH request to Update an Agent. Code example:
PATCH https://api.d-id.com/agents/{agentId}/ | Update an Agent
{
  "knowledge": {
    "id": "knl_91YI41kahrS8vhdRz8"
  }
}
{
  chats: 1,
  created: '2024-02-22T10:09:03.590Z',
  preview_name: 'Scarlett',
  created_by: 'google-oauth2|1004592475295613957286',
  status: 'done',
  access: 'unlisted',
  score: 1,
  llm: {
    instructions: "You are Scarlett, an AI designed to assist with information about Louvre",
    model: 'gpt-3.5-turbo',
    type: 'openai',
    provider: 'openai'
  },
  modified: '2024-02-22T10:10:49.848Z',
  presenter: {
    voice: { type: 'microsoft', voice_id: 'en-US-JennyMultilingualV2Neural' },
    thumbnail: 'SOME_URL',
    idle_video: 'SOME_URL',
    type: 'talk',
    source_url: 'SOME_URL'
  },
  knowledge: { provider: 'pinecone', id: 'knl_91YI41kahrS8vhdRz8' },
  id: 'agt_j46fhSab',
  owner_id: 'google-oauth2|1004592475295613957286'
}
The knowledge base is now linked to your Agent!
✴️ Developer Starter Code
For a code example demonstrating the entire process, you can visit the D-ID Agents Demo repository. The repository provides a starter code to help you get started with implementing the D-ID Agents API in your own applications.
Initial setup:
- Clone this repo from GitHub
- Install express: open a terminal in the folder and run
npm install express - Add your API key: edit the
api.jsoninside the uncompressed folder and add your key there
Start the example app:
- Bring up the app in the folder (ctr left click on folder through finder)
- Open the terminal, run
node app.js - You should see this message:
server started on port localhost:3000 - Open the app in the browser, add
localhost:3000/agents - press 'Create new Agent with Knowledge' to create a new Agent. All API endpoints' responses are visible in the console.
- press 'Connect' to connect to the agent, once done, type a message and press 'Send' to start a chat
- You can store the created agentId and chatID variables and at the bottom of the agents-client-api.js file for future chats with your newly created Agent.
✴️ Support
Have any questions? We are here to help! Please leave your question in the Discussions section and we will be happy to answer shortly.
Ask a question